
It’s probably an understatement to say that getting a pedicure at a salon feels so freaking good. Especially when they have those awesome massaging chairs…
Of course, that glorious experience comes at a cost. Thankfully, it’s not THAT hard to master an amazing pedicure at home.
Skeptical? Let these beauty experts take you through the step-by-step:
Step 1: Gather your gear
You’re going to need a solid arsenal for your pedi, says beauty expert Skyy Hadley, but you can find most of these at your local drugstore.
Here’s what you’ll need for your home pedicure kit:
- a cuticle remover
- cuticle pusher
- a foot file
- nail buffer
- a toe separator
- an orangewood stick
- nail clippers
- nail file
- nail polish remover
- cotton balls or pads
- a base and top coat
Step 2: Get rid of the old gunk
Grab a gentle nail polish remover (try Sephora’s Instant Nail Polish Remover, $9.50, Sephora.com) and soak a cotton ball or pad. Then, run it over your toenails to remove old polish, debris, buildup, and natural oils from your nails, says nail care expert Lauren Berkovitz, the founder of Lauren B. Beauty.
Step 3: Soak your feet
Fill your tub with warm water and soak your feet in there for about 15 minutes, Hadley advises.
To make the experience more spa-like, add a capful of distilled white vinegar (to cleanse and tone), a few drops of tea tree oil (to banish stinky bacteria), or a few tablespoons of Epsom salts (to help with achy feet). You can even throw in a few slices of lemon, which can help soften your cuticles and calluses and sanitize your feet, says Amy Ling Lin, owner of Sundays nail studio in New York City.
Step 4: Slough off dead skin
Take your feet out of the tub, gently dry them off, and grab a foot file, Hadley says. Run the file back and forth across your heels, soles, and sides of your feet to get rid of all the dead skin.
Step 5: Shape up your nails
Using a nail clipper, clip your nails to your desired length, Berkovitz says. You can follow that with a nail file to shape the corners. Then, gently buff your nails with the nail buffer to get rid of ridges that would make polish come out unevenly.
Step 6: Oil up
Apply cuticle oil to the skin around your nails. This helps prevent damage to the cuticle and nail, and will also help your pedicure last longer, Berkovitz says.
Step 7: Moisturize
You’ll want to hydrate your feet and calves with lotion or a foot mask to replenish moisture, Berkovitz says.
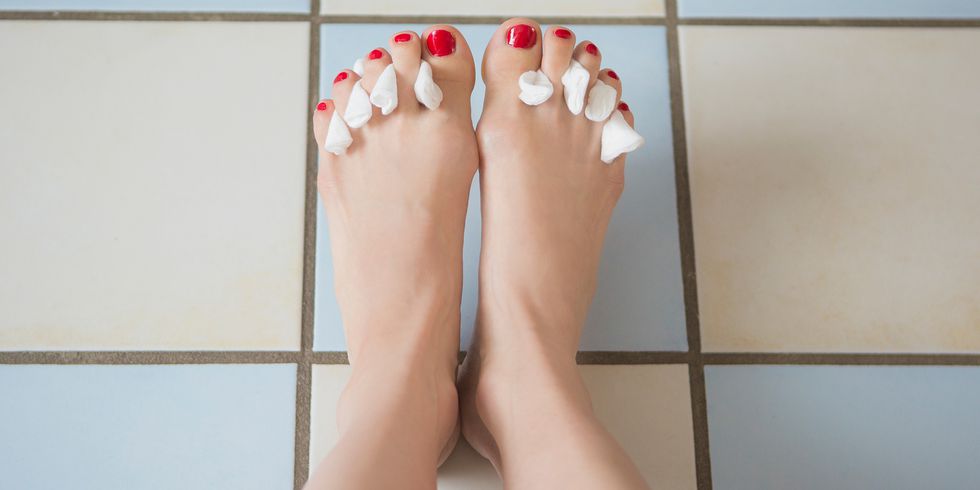
Step 8: Paint your nails
Lin recommends using a toe separator to prevent smudging. Then, start with a base coat, Hadley says—this helps the polish stick better to your nails. “Take care to cover the entire nail,” Lin says. “This is the foundation you’re building off of, so take your time to make a smooth surface for the color coat.”
Then, add your favorite nail color. “Apply thin, even layers,” Berkovitz says. “It will make all the difference and you’ll be happy you took the extra time later.”
Be patient! It takes nail polish longer than you’d think to dry. If you rush it, you could end up with a sloppy, uneven finish.
Finish off with a clear top coat to protect it from chipping.
Step 9: Clean up any smudges
If you spot any smudges, Hadley recommends using a nail brush or orangewood stick and polish remover to clean them up.