
Vintage transportation inspired a classic boys’ theme to give this room a hot-rod attitude.
A Scheme to Grow

The toughest task when it comes to creating a cozy kids room is choosing a theme and a color scheme that will last for many years to come. This bold room, in primary colors, meets the challenge with its vintage cars and planes theme.
Perfect Boy Theme

Transportation is a perfect theme for any little boy who loves things that move. The sophisticated color palette and artwork possibilities are perfect for parents who don’t want to redecorate two years down the road.
Window Focus

Striped Roman shades set the red, navy, white, and green color scheme; the fabric’s deep tones really pop against the white wainscoting and built-ins. An energetic band of stripes around the walls completes the space and can be easily painted over as tastes change.
Must-Have Toys

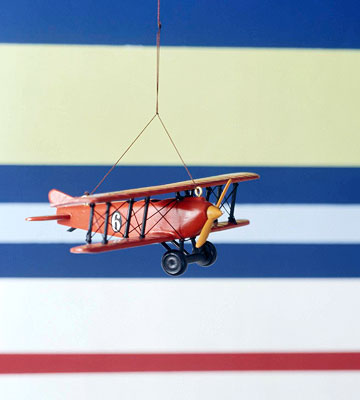
Accessories support the room’s theme, especially replicas of antique toys. Vintage posters are a classy addition to the space. The room’s more juvenile accessories, such as stuffed animals, picture books, and toy trucks and trains, can easily be removed as the resident grows, but the bold color scheme has staying power.
Must-Have Toys

A comfy reading nook with a fire-engine red chair is the perfect spot for bedtime stories and snuggles.
Do-it-yourself Stripes

A band of stripes is an easy do-it-yourself project that adds a personal touch. Master these simple steps to get the look:
1. Mark the area to be painted with removable painter’s tape.
2. Paint this section the base color of the band (the thinner stripes will be painted over it). In this room, for example, the green stripe was painted first.
3. Once dry, use different widths of painter’s tape to mask off the other stripes. You’ll need to do this in stages because you cannot mask all the stripes off without blocking some areas with the tape.
4. Brush decorator’s glaze over the edges of the tape to keep the paint from bleeding under the tape and ruining the stripes.
5. Paint the stripe, slightly overlapping the tape; let dry. Repeat until all the stripes have been painted.
6. Carefully remove the tape. If the tape starts to pull up the paint, use a blow dryer to warm the adhesive as you carefully remove the tape.